Here are the steps to installing your printed pictured tile wall mural.
Here are the steps to the Installation Of Printed Pictured Tile.
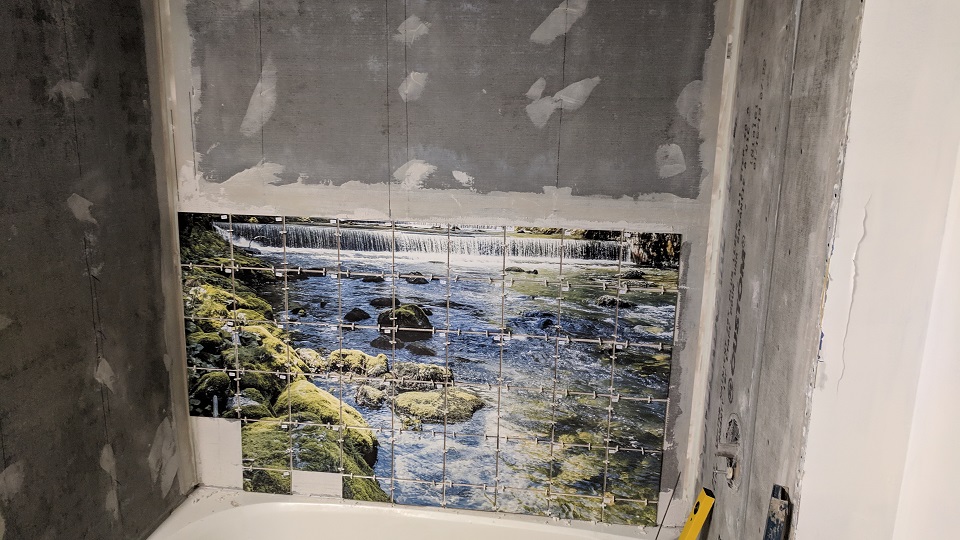
- First off, you install it like normal tile - no extra precautions, treat it the same.
- We give you what we call a 'map' so you can simply layout your entire wall mural. The 'map', as we call it is similar to the box cover for a jigsaw puzzle, you can see all the different pieces.
- Speaking of pieces, to make it even easier for you, we number each tile with a sticker. Making it easy for you or your tradesman to install your entire pictured tile mural without any problems.
- Note some murals that are small dont get a map but larger murals usually do. Or if you dont get a map the tiles are placed in the box (you would be getting) together. Also being numbered you dont have to think or worry about it.
Also you can more about the process here. As we print your pictures on tile, and photo plates and print in mugs. Its all digital and you can learn more of our digital printing process here.
Easy steps here and video's here to follow on how to do it.
Just follow along our steps with video and photographs so you can get a real good idea on how our pictured tile can be installed a shower wall.
Furthermore you will find that the Installation Of Printed Pictured Tile is not any different than how tile is installed normally.
Questions and Answers To Install Printed Tiles
At Paris Group we constantly get questions, about how do you install these? Or what special treatment must be done in order to install?
The only thing we would suggest is that when you layout your pictured tile just before you install, you dont want to have to cut these tiles that we printed. Because if you make a mistake cutting them then that would get expensive! So leave the cutting to a minimum to zero, if you can. You can always have a plain white tile to "border" your printed pictured tiles.

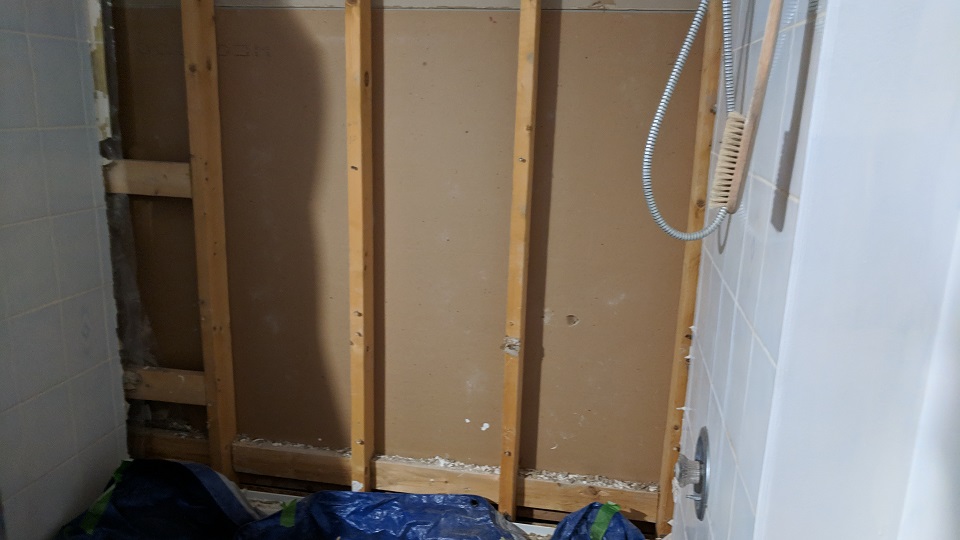
Here you can see the photo above, how we gutted the wall down to the studs. In this case we have a bathtub that we wanted to retain so we obviously covered and protected the tub with a tarp. As you hammer away at the old tile and drywall it gets dusty and big pieces fly off, so protect yourself and the surrounding area.
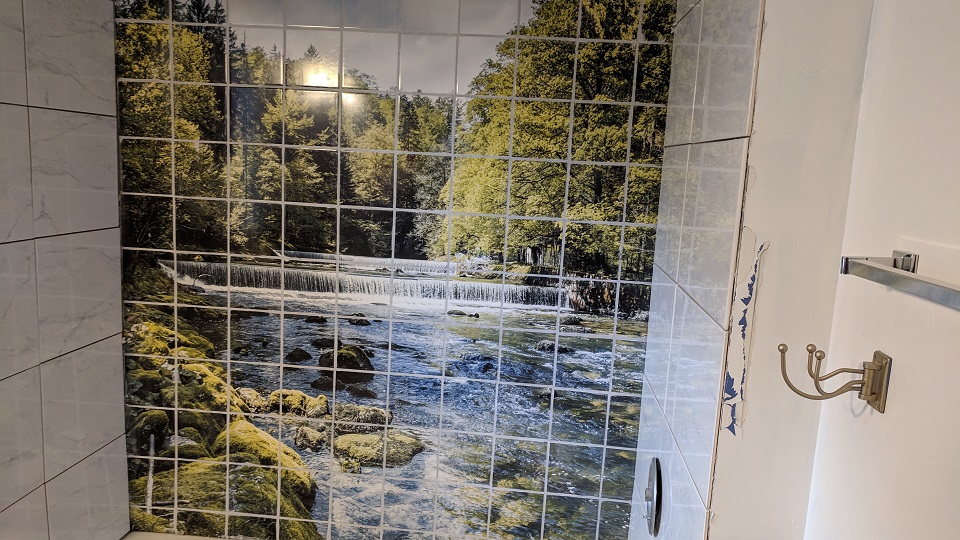
Your Installation Of Printed Pictured Tile Is half way done!


